A desktop screen recorder is not confined to a browser tab, so it can capture any application on the machine. In Dubb it also records in clips rather than one continuous take: each clip is previewed, kept or discarded, reordered, and only merged into a single video at the end. Framing can be set to landscape, portrait, or a custom crop before recording starts.
What Is a Desktop Screen Recorder?
A desktop screen recorder is an application installed on a computer that captures the screen at the operating system level rather than from inside a browser. Its defining characteristic is scope: because it runs above every window, it can record any application, any document, and any part of the display, including software that has no web version at all.
The Dubb desktop app works this way, and it adds something the browser extension does not do. It records in clips. Each take lands in a preview strip that you can reorder, delete, or add to, and the whole set merges into one video only when you decide it is finished. That single difference changes how I record, and most of this article is about what it lets you do.
Table of Contents
- Installing the App and Finding the Quick Menu
- What Carries Over From the Chrome Extension
- Framing: Landscape, Portrait, and Custom Crop
- The Check Mark Does Something Different Here
- The Three Creative Icons
- Recording Screen Clips, One After Another
- Cutting to Your Face With a Webcam Clip
- Narrator Video: Reusing a Recording You Already Made
- Reordering, Downloading, and Deleting Clips
- Dropping an Existing MP4 Into the Story
- Merging, Smart Cut, and Uploading
- Desktop Screen Recorders Compared
- Common Mistakes and Troubleshooting
- Best Practices I Actually Follow
- Proof: Why This Actually Works
- Frequently Asked Questions
- Recording in Pieces Instead of Takes
Installing the App and Finding the Quick Menu
Search for the Dubb desktop app and download the build for Mac or PC. That is the whole install, and it is the only part of setting up a desktop screen recorder that people tend to put off.
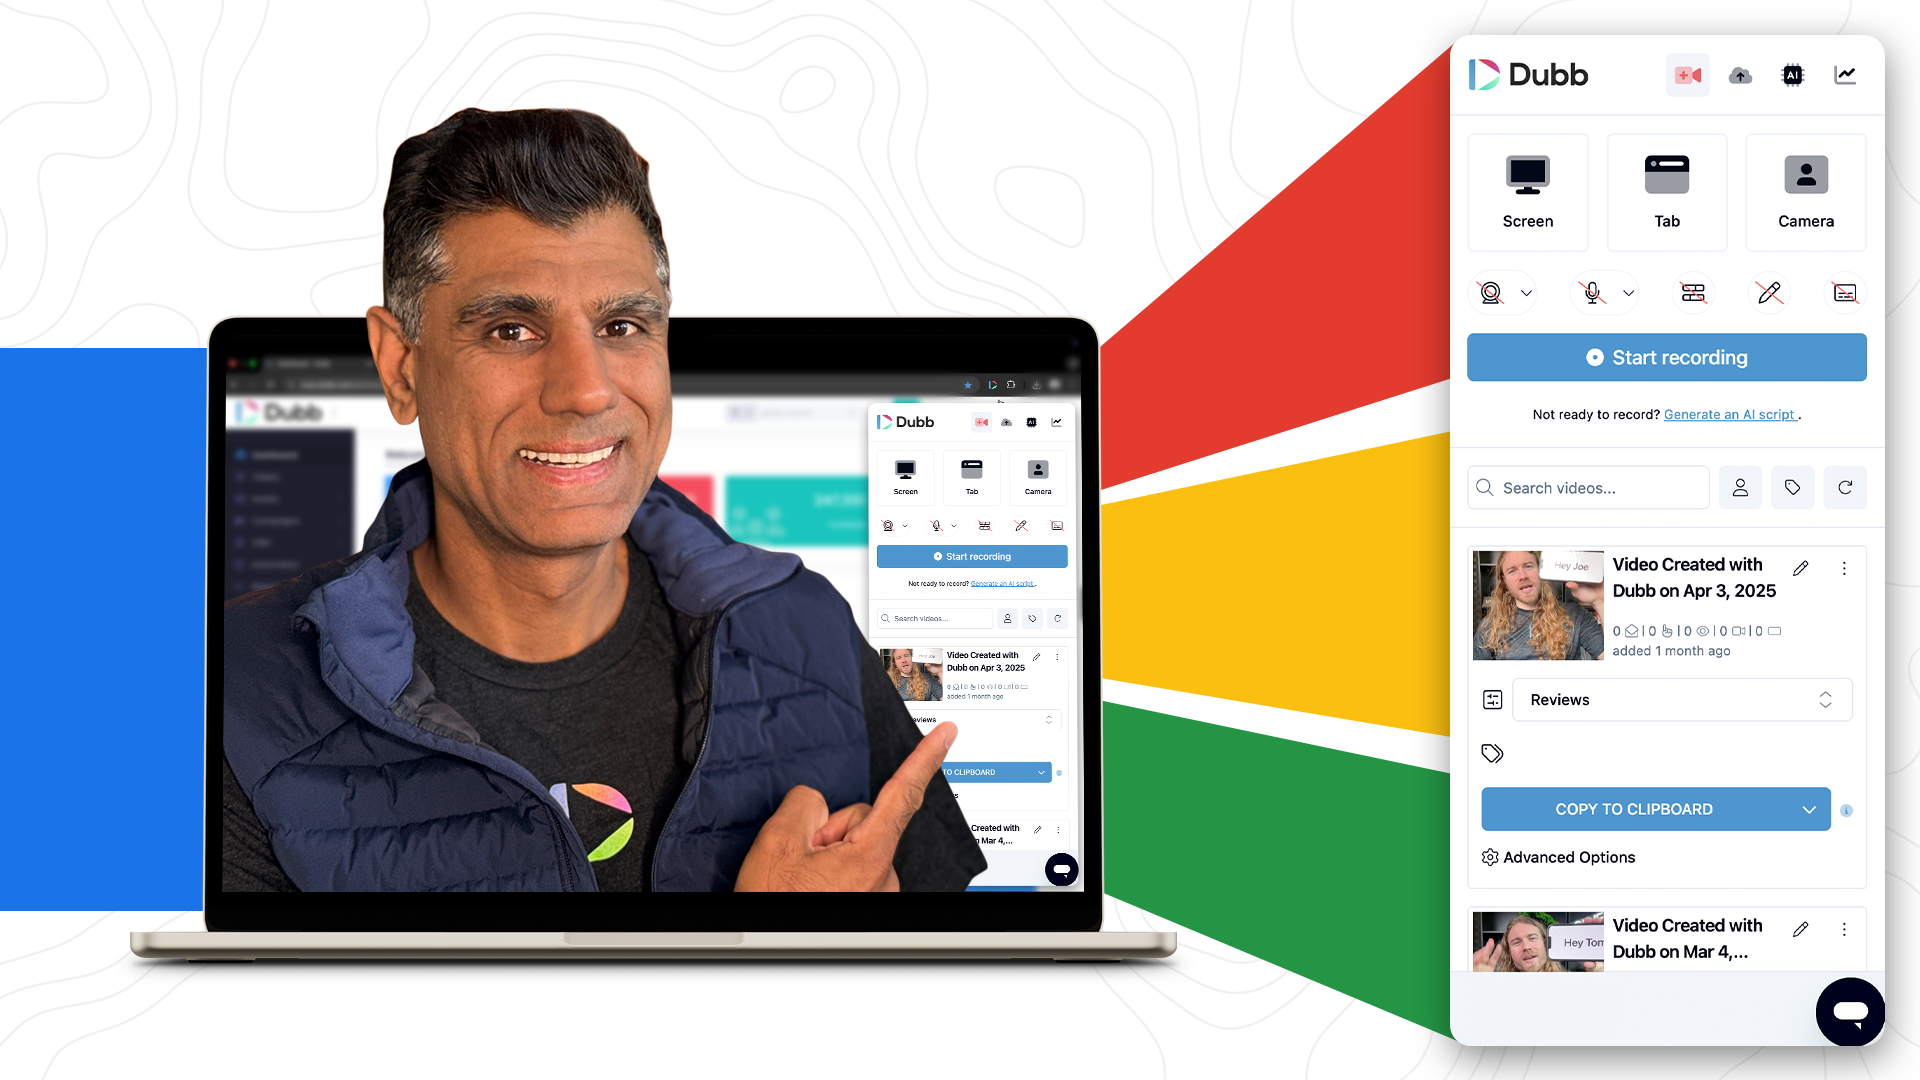
Once it is on your computer you get a small Dubb symbol in the menu bar at the top of the screen on a Mac, or the tray at the bottom on Windows. Click it and you can see your activity or open the quick menu. The quick menu is the launcher for everything the app does, and screen recording is one option among several.
Select screen record and the app puts you straight onto the recording page, sitting over whatever you already had open. Nothing had to be moved into a browser first, which is the point.
What Carries Over From the Chrome Extension
If you already use the Chrome extension, three things will look familiar and behave identically.
The bubble is the same. You can change its shape, set a custom size, and move it around the frame exactly as you would in the browser.
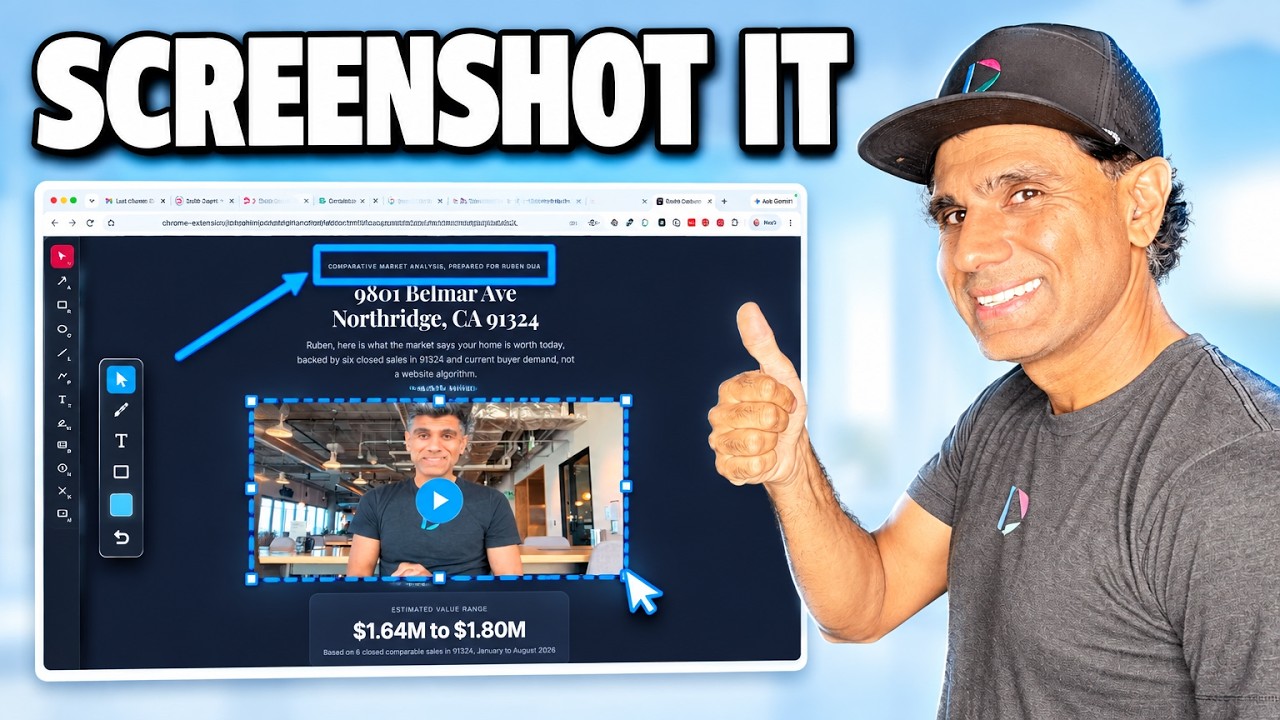
The annotation tool is the same. Every annotation available in the extension is available here, which matters because the things worth annotating on a desktop are often the things that were never in a browser to begin with.
The teleprompter is here too, and it exists in the Chrome extension as well. If you script your openings, it travels with you.
So the desktop app is not a stripped-down version of the extension. It is the extension's toolset plus two capabilities the browser cannot offer: recording anything on the machine, and recording in clips.
Framing: Landscape, Portrait, and Custom Crop
Framing is the control I would look at first, because it decides the shape of the finished video before a single second is recorded.
You get three choices. Landscape is the default and the right answer for anything going into an email, a landing page, or a proposal. Portrait gives you a vertical frame, which means you can produce a social video from your desktop without recording it horizontally and cropping it afterwards. That is a genuinely useful thing to be able to do at a computer rather than on a phone.
Custom is my favourite of the three. You draw the borders yourself, around anything: a document, a canvas, a slide, a video playing in another window. Whatever falls outside the box is not recorded.
The reason I use custom so often has nothing to do with aesthetics. A viewer's attention goes wherever there is movement, and a full-screen recording is full of things that move and do not matter: a notification, a dock icon bouncing, a tab you forgot about. Cropping to the thing you are actually talking about removes all of it in advance. It is the cheapest editing you will ever do, because you do it before you record.
The Check Mark Does Something Different Here
Hit record and you get a three, two, one countdown, then you are recording. You can pause and resume mid-recording, same as before.
The difference is what happens when you click the check mark.
In the Chrome extension and the webcam recorder, the check mark ends the recording and saves the video into the platform. In the desktop app it does not. It opens a preview window, and what you have made is a clip.
That is the whole mental shift, and it is the thing I would want someone to understand before they open a desktop screen recorder for the first time. You have not finished a video. You have finished a piece of one. Nothing has been uploaded and nothing is final, which means a fumbled take costs you that take and nothing else.
The Three Creative Icons
Once you have a clip in the preview window, the question is how to keep going. Three icons at the bottom left answer it, and each one records a visually different kind of clip.
| Icon | What It Records | When I Reach for It |
|---|---|---|
| Record screen video | Another screen clip, returning you to the same recording setup | The bulk of the video, and any time I want to change the background between sections |
| Webcam | You, full frame, with a virtual background, screenshot, or video behind you | Openings and closings, where the viewer should be looking at a person rather than a screen |
| Narrator video | A video already in your library, placed in a bubble over whatever you are showing | Any segment I have already recorded well once and do not want to record again |
Three icons is a short list, but the combination is what makes a finished video look composed rather than captured. A single unbroken screen recording looks like a single unbroken screen recording no matter how good the content is.
Recording Screen Clips, One After Another
The first icon, on the far left, is record screen video. Select it and you land back exactly where you were, ready to record again.
You can change things between clips. I often swap the background for something different so the two segments do not look identical. Hit record, take the countdown, record the next piece, click the check mark, and you have two clips sitting in the preview strip.
Now do it again for the next point. And again. Nothing is committed until you merge.
What this fixes is the problem that ruins most self-recorded screen videos: one mistake eleven minutes into a twelve-minute take. In a single-take recorder that mistake costs you eleven minutes, so people either start again and lose momentum, or leave the mistake in. In a clip recorder it costs you the forty seconds you were in.
Cutting to Your Face With a Webcam Clip
The second icon opens your webcam. You can drop a virtual background, a screenshot, or a video behind you, then record.
This is where a call to action belongs. Something like "thanks for watching, click below if you want to book a time in my calendar" plays completely differently over your face than it does over a spreadsheet. Click the check mark and it becomes another clip in the strip, visually distinct from everything around it.
My habit is a webcam clip at the front and a webcam clip at the end, with screen clips in between. The opening earns the watch and the closing asks for the next step, and neither of those jobs is done well by a cursor moving around a document.
Narrator Video: Reusing a Recording You Already Made
The third icon is the one people underuse, and it is the most leveraged of the three.
Narrator video pulls a pre-recorded video out of your Dubb Studio library and puts it in a bubble on top of whatever you are showing. You select the narrator button, your library opens, you pick the video, and when you hit record that existing recording plays in the bubble over your current screen.
Think about what that removes. The explanation you have already given a hundred times, recorded once properly, can now sit on top of this quarter's numbers, this client's proposal, this month's dashboard. The bubble can be a circle, a square, a phone shape, whatever you want. The content behind it changes every time. The explanation does not have to.
The same logic applies to voice as it does to picture, which we covered separately in our piece on using voiceover to scale personalised outreach. Narrator video is that idea with a face attached.
Reordering, Downloading, and Deleting Clips
Clips in the preview strip can be physically moved around. Drag them into whatever order you want, which means you do not have to record chronologically.
I lean on this more than I expected to. If the walkthrough is the hard part, record the walkthrough first while you are focused, then record the introduction afterwards, when you actually know what you are introducing. Drag it to the front. The viewer sees a video that was planned. It was not.
Each clip also has a three dot menu with download and delete. Delete is the important one. Keep the takes that worked, get rid of the ones that did not, and stop treating a bad take as something to fix later. In a clip recorder, a bad take is just a clip you do not keep.
Dropping an Existing MP4 Into the Story
If you have an MP4 sitting on your computer, drag it into the preview strip and it becomes part of the sequence like any clip you recorded.
That covers the footage that never came from a screen recorder in the first place. A clip somebody sent you, something shot on a phone, an export from another tool, a product demo a colleague made. It goes in the middle of your video without a round trip through a separate editor.
Merging, Smart Cut, and Uploading
When the clips are in order, you have two ways to finish.
Upload merges everything into one video and saves it straight into the platform.
Edit also merges the clips, but drops you into a quick editor first. The feature worth knowing about there is smart cut, which removes the pauses for you. I run it on almost everything. Pauses are what make a recording feel amateur, and a take you were about to discard for sounding hesitant often turns out fine once the silences are gone.
From the editor you can download the video, or upload it, which saves it into the platform and lands you on the video edit page. Everything after that, the title, the landing page around it, the sharing, the tracking, happens there.
Worth saying plainly: the desktop app is where the video gets made, not where it gets sent. Merging and uploading is the handoff. If you are looking for sharing, analytics, or the page the recipient sees, those live on the video page in the studio, not in the app.
Desktop Screen Recorders Compared
There are good desktop screen recorders and I am not going to pretend otherwise. What separates them is less about capture quality than about what the tool assumes you will do next.
| Tool | Recording Model | What Happens After | Best Fit |
|---|---|---|---|
| Dubb | Clips, merged at the end. Screen, webcam, and narrator video in one strip | Uploads to a hosted, trackable, sendable video page | Business video where the point is sending it to someone and knowing what happened |
| Loom | Single take, with trimming and stitching afterwards | Hosted link with view tracking | Fast internal updates and async team communication |
| OBS Studio | Scene-based, single take, deep control over sources and audio | A file you edit and host yourself | Streaming, and production work where you want full control and no ceiling |
| QuickTime Player | Single take, no webcam overlay, no annotation | A file you edit and host yourself | Anyone on a Mac who needs a plain capture at no cost |
If what you are making is a produced piece of content, use a production tool and a real editor. What we built for is the other case, which is most business video: a handful of segments, a clear ask at the end, and a video that needs to reach a named person today.
Common Mistakes and Troubleshooting
Recording full screen when you meant to record one thing. Use the custom frame. Draw it around the document, the slide, the canvas, whatever the subject is. Everything outside the box, including your notifications, stops existing.
Expecting the check mark to save the video. It does not, and that catches people who came from the Chrome extension. The check mark ends a clip. Merging and uploading is what saves the video.
Recording one long take out of habit. The app supports it and I would still record in pieces. Pieces are recoverable, takes are not.
Leaving the pauses in. Smart cut takes seconds to run and it is the single biggest improvement available to most recordings.
Recording in landscape for a social feed. Set the frame to portrait first. Cropping a landscape recording afterwards throws away the edges you composed the shot around.
Forgetting the clips are still there. Nothing is uploaded until you merge, so a clip you meant to delete will end up in the finished video if you leave it in the strip. Prune before you merge, not after.
Best Practices I Actually Follow
These are the habits I have settled on after recording a great deal of this material myself, and none of them are specific to one desktop screen recorder.
Open with a webcam clip. Fifteen seconds of a person is worth more attention than any opening slide.
Record the difficult part first. Then record the introduction, knowing what you are introducing, and drag it to the front.
Change something between clips. A different background or a different frame stops two adjacent segments from blurring together.
Build a narrator library. Any explanation you give more than three times should exist as a recording you can drop into a bubble instead of performing again.
Delete as you go. A bad clip you leave in the strip is a decision you have deferred, and deferred decisions pile up at exactly the moment you want to be finished.
Run smart cut before you look at anything else. Judge the take after the pauses are gone, not before.
Proof: Why This Actually Works
The argument here is about recoverability, and it is one we have watched play out repeatedly.
Two patterns hold consistently across the people we help. The first concerns clip recording. People who record in segments finish and send more videos than people attempting a single continuous take, and the reason is not quality. It is that a mistake in a long take sends most people back to the beginning, and going back to the beginning is where people quit. Segments make a mistake cost seconds rather than the whole recording.
The second concerns reuse. Anyone who builds a small library of narrator clips produces longer and more varied videos than someone recording every segment fresh, because the marginal cost of adding a well-recorded explanation drops to nearly nothing once it exists.
Methodology note: these are directional observations drawn from aggregated, anonymized usage patterns across Dubb users, not a controlled study. No figures are attached to either pattern, and results vary by how often someone records and what they are recording for.
What I take from it is that the useful question about a desktop screen recorder is not how much it can capture. It is what a mistake costs you.
Frequently Asked Questions
How do I record my screen outside the browser?
Download the Dubb desktop app for Mac or PC and install it. A small Dubb symbol appears in your menu bar or tray, and clicking it gives you the option to view the quick menu.
Choose screen record from that menu and the app opens over whatever you already had running. Because it sits above the operating system rather than inside a tab, it can record any application on the machine, not just web pages.
What is the difference between the Dubb desktop app and the Chrome extension?
The bubble, the annotation tool, and the teleprompter work the same way in both. Two things are different. A desktop screen recorder is not limited to the browser, so it can record any application on your computer.
The bigger difference is that the desktop app records in clips. The check mark ends a clip and opens a preview rather than saving the video, and you merge the clips into one video when you are done.
Can I record a vertical video on my computer?
Yes. Set the frame to portrait before you record and you get a vertical video straight from your desktop, which is what a social feed wants.
There is also a custom frame option that lets you draw the borders yourself around a document, a slide, a canvas, or a video. Anything outside the box is not recorded, which is the fastest way to keep notifications and clutter out of a video.
How do I record multiple clips and combine them?
After you click the check mark on a clip, three icons at the bottom left let you record the next one: screen video, webcam, or narrator video. Each new clip joins the preview strip.
Clips can be dragged into any order, and each has a three dot menu for downloading or deleting it. When the sequence is right, hit upload to merge everything into one video, or hit edit to merge and open the quick editor first.
What is a narrator video?
Narrator video takes a video already sitting in your Dubb Studio library and places it in a bubble on top of whatever you are currently showing. You select the narrator icon, pick the video from your library, and record.
It means an explanation you have recorded well once can be reused over new material indefinitely. The bubble can be a circle, a square, or a phone shape, and the content behind it changes every time.
How do I remove pauses from a screen recording?
Choose edit rather than upload when you finish. That merges your clips and opens the quick editor, where smart cut removes the pauses for you.
I run it on nearly every recording before deciding whether a take was good, because silences are what make a recording feel amateur and they are the easiest thing to remove.
Recording in Pieces Instead of Takes
If there is one habit worth taking from this, it is to stop thinking in takes.
Set your frame before you record. Open with your face. Record the screen in segments and click the check mark between them. Drop in an MP4 if you have one. Reuse a narrator clip instead of repeating yourself. Delete what did not work, drag the rest into order, run smart cut, and upload.
The Dubb desktop app is built around that sequence, which is why the check mark makes a clip instead of a video and why the upload lands somewhere the video is immediately sendable and trackable. If you want the earlier walkthrough of the recorder's basic setup, including monitor and microphone selection, that is covered in our post on recording a desktop screen video with the Dubb desktop recorder.
If you change one thing after reading this, make it the custom frame. Most of what makes a screen recording hard to watch is not the content. It is everything else that was on the screen at the time.